All of the wiring and electronic components have now arrived so I've been moving ahead with the layout again.
First up, I had some valued help from my brother in installing the roof, pelmet, end braces to the layout, which allowed me to install the lighting.

I've installed two pairs of strips of lighting this time owing to a wider baseboard and roof than on Rozelle Street. As you can see with only the single pair illuminated above, it's a little dark in the far corner. The photos below show the effect of the second strip (bottom picture) compared to the single pair.

With this step complete I then glued the track in place with PVA. I had spent the last few weeks marking out on the board in pencil where all of the turnouts are, where the frogs sit and the general alignment of the track, so that once I'd removed it all I could drill out holes for the frog wires to the hex juicer and the turnout throw bars from the servo motors.
Just about everything within reach was borrowed to hold the track in place while the glue set.

After I'd glued the track down and started wiring it, I realised that I'd forgotten to snip the wires on each Peco turnout that connect the switch rails to the frog. That will have to be a dremel job before I finish wiring.
Next came the Rapido remote uncouplers. I purchased a hole saw for this job and I was slightly apprehensive about drilling up from underneath the layout and inadvertently taking out some sleepers if they caught on the saw blade. Going slowly and steadily though I only took out two sleepers on the last one out of five holes in total, and that was probably out of trying to rush to finish. Needless to say, there was an enforced break after this.

I've used Peco Code 75 points and Micro Engineering Code 70 track. Peco is also bringing out Code 70 track and points, but I can't find it online yet. I've found that both brands of metal track joiners work between the two codes of track fairly well. The Peco ones are definitely the more forgiving of the two.

Above is the Rapido uncoupler test-fitted in place. I had a go manually turning the whole unit in the hole and running a coupled JLX and BP tanker over the top, and I'm impressed already. If it's this successful when wired up I might be investing in a few more of these! These are especially going to make uncoupling under overhead wiring that much simpler.
Also in one of the boxes of goodies to arrive in the post were some fascia mounting panels for the Tam Valley Servo switch. These are the first 3D-printed items I've used in layout building and once I've primed and painted them (waiting for that confluence of spare time and an ambient temperature above 18 degrees to enable some spraying!) they'll come up nicely.
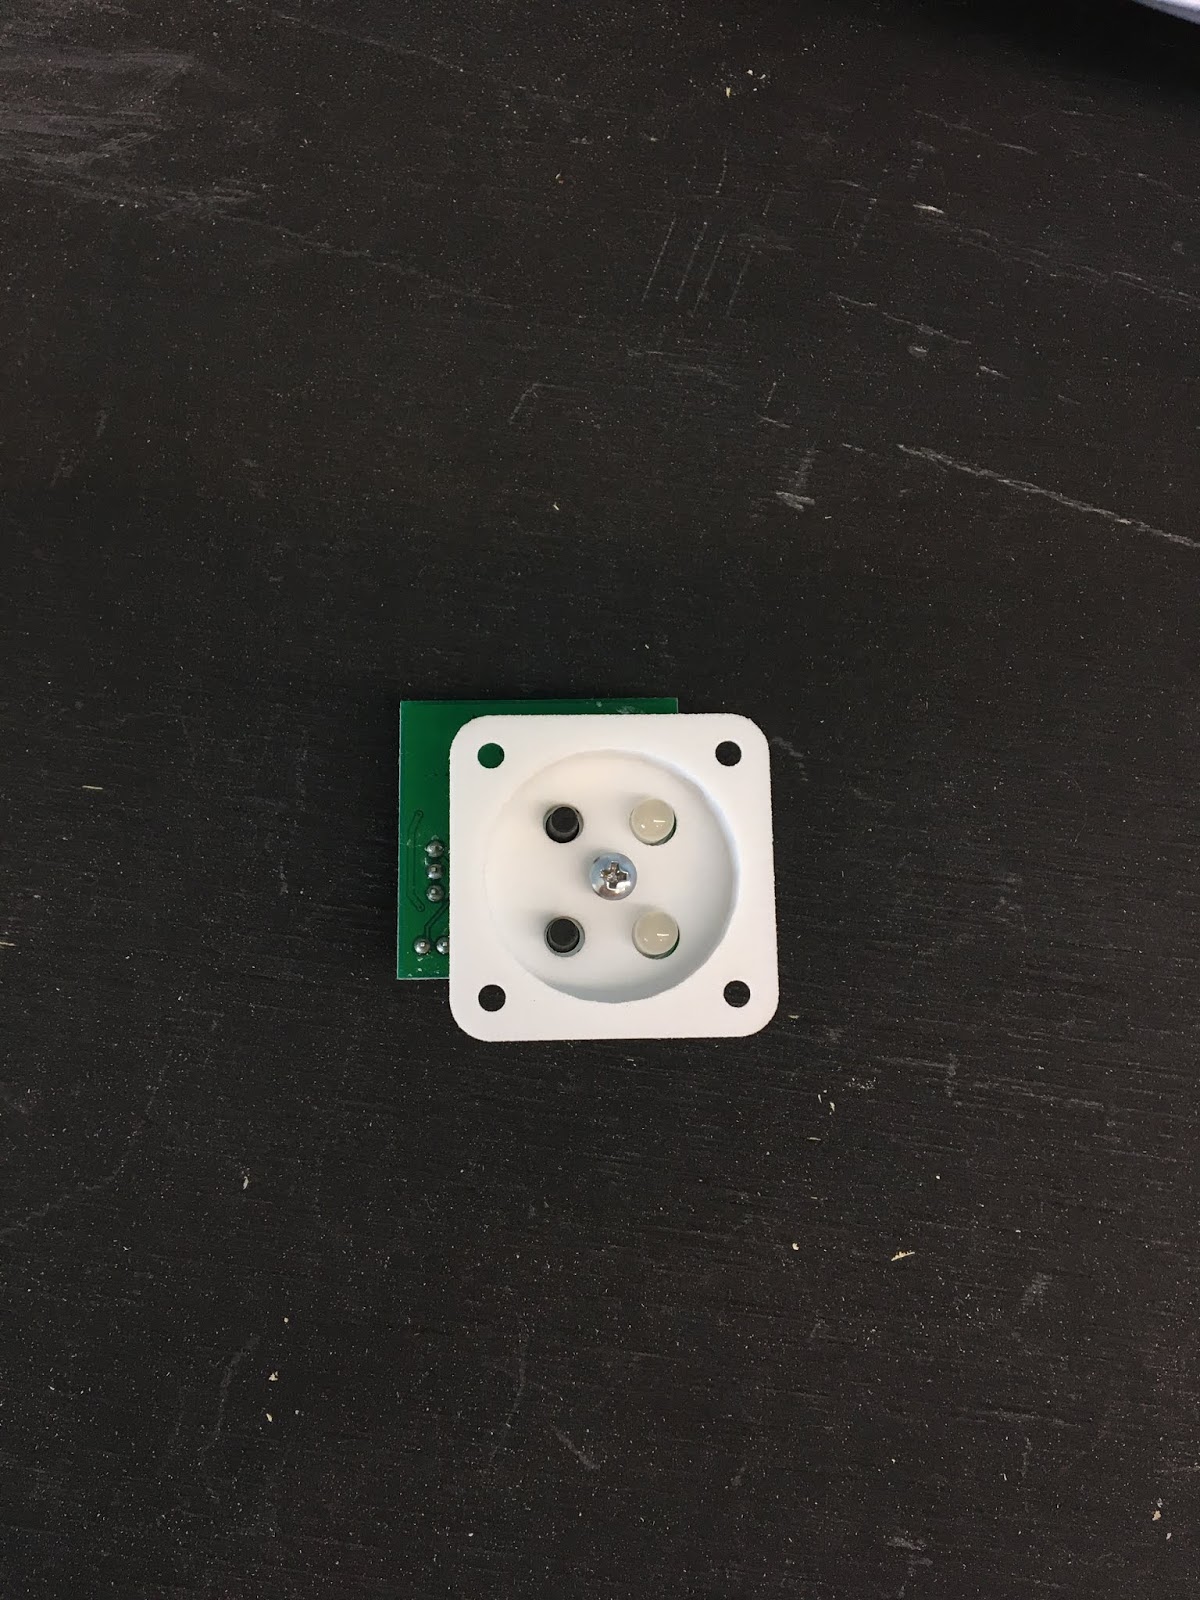
The only downside - and it's solely a fault of my planning - is that I can't mount the fascia panel straight in the frame of the layout due to the way the printed circuit board lines up offset from the panel. I'll have to plan this a little this week.

Before having to stop for the weekend I did manage to get a few roads on the right-hand side of the layout wired up to the track bus and finished with heatshrink to neaten the job.

Bit of quick one this time, but I will have another go next weekend and hopefully finish the minutiae of wiring tasks.
Cheers for now,
Ben
No comments:
Post a Comment