With the rock dry, I then added the dirt and grass, followed by foliage and trees.

For the dirt, I grabbed about three handfuls of stuff from a pile of spoil the council had left on the side of the road of a street nearby that was being widened/resurfaced/something-completely-not-train-related. I'd been seeing this stuff get carted out of the suburb I live in to get dumped for about a fortnight so I figured they wouldn't miss a few handfuls.
I brought this home and after pulling the larger rocks out, laid it out on the biggest, oldest baking tray I had and baked it in the oven at about 180 degrees for a few hours. This removed all of the moisture and made sifting a lot easier. I sifted it first through a large metal sieve, then a tea-strainer I'd bought for scenery, then through an old stocking to get the right consistency. All up, three handfuls of roadside spoil yielded just enough to do the track-level horizontal surface area. Another trip to scavenge dirt later and I repeated the process to get enough dirt to do the remaining surfaces at the higher elevations. This lot helps to blend the rock as it more lighter and more yellow in colour. Whenever I do the next layout, I'm going to source higher quality dirt from a creekbed or friend's farm, and in bigger quantities.
Luke uses a glue called Mod Podge for applying scenery, with the advantage being that it dries flat, without any sheen. I've never really had this problem with PVA, so I just stuck with PVA in various strengths. The isopropanol is just the trick for preventing the ballast from clumping together when the glue is applied. I've been having this problem for years until I saw this video.
When applying the grass, I found my Noch glue had gone off since it was last used in 2012, so I spent an hour or so googling a good substitute. The answer from Chris Nevard of Model Rail was undiluted PVA. Such a versatile glue!
For the static grass I grabbed a spare plastic sandwich bag and added a pinch each of Mininatur 4mm and 6mm grasses in 'early autumn' and 'summer', with a pinch of Woodland Scenics' 'Wild Honey'. Once shaken up and mixed, I usually add a little more of one colour or another to get a variation to the tone I want. I wanted the grass to have an Australian look without looking too dry, so I added another pinch of Mininatur early autumn. Then the whole lot was then poured into the static grass hopper. Once you have the ratios right, you can increase or decrease the amount you make to cover the area you're after. A quick trip to the corner store to replace the 9v battery in the dormant Grasmaster and the grass started sprouting!
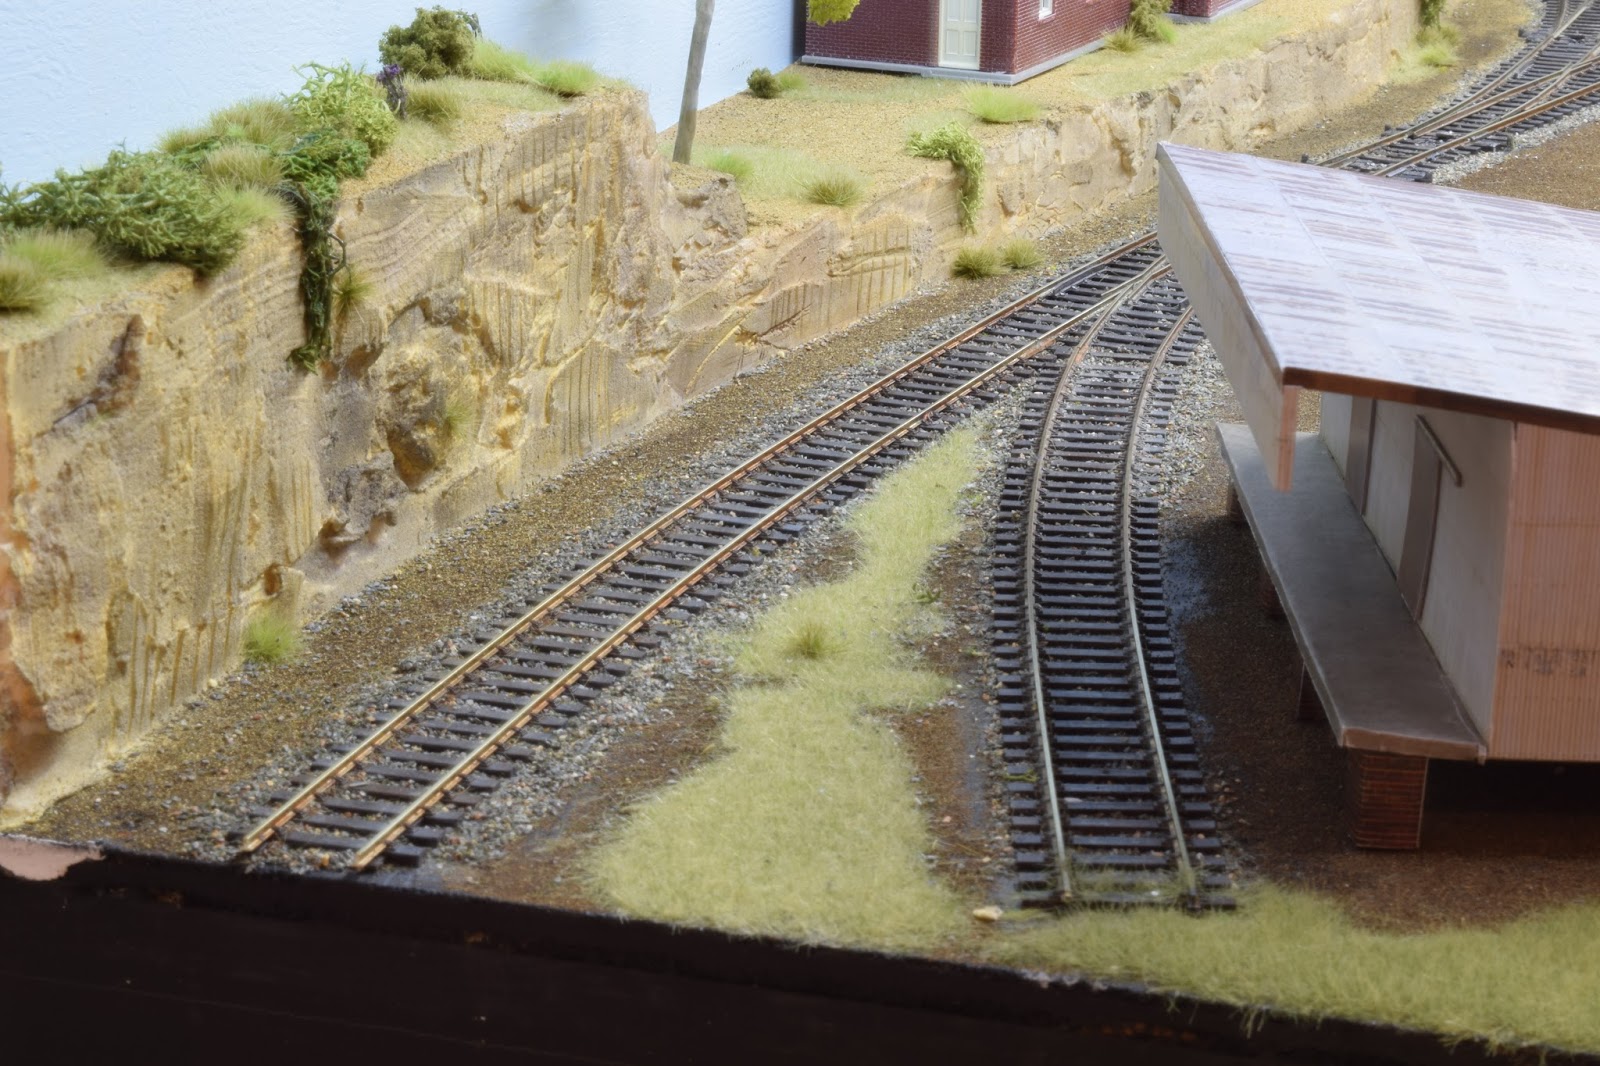
I wanted fairly thick grass for the yard area, but I applied it more and more sparsely the further away it featured from where water would naturally collect.
Another way of doing it is to lay a 2mm layer of a green blend, then spray with hairspray once dry, and apply a layer of the 'wild honey' colour in various lengths. The second layer sticks to the top of the previous layer, giving a more realistic representation of Australian grass. Try it if you're not in a rush.
Next up: 'detailing' the dirt and grass.
Cheers for now,
Ben
Next up: 'detailing' the dirt and grass.
Cheers for now,
Ben
No comments:
Post a Comment